The Action Block enables you to integrate a conversational user interface into your chatbot, allowing for dynamic interactions and seamless user engagement.
Dialogflow is a Natural Language Processing (NLP) engine that simplifies the design and integration of conversational user interfaces into mobile applications, web applications, devices, bots, interactive voice response (IVR) systems, and more.
Use-case scenario:
You can use Dialogflow when:
- Connecting your Dialogflow agent to Replycx.
- Building a smart bot to interpret visitor inputs.
- Creating AI-powered bots for enhanced interactions.
How do I integrate Replycx with DialogFlow?
Setting up the integration between Replycx and Dialogflow is a two-step process:
- Obtain the JSON key for the Dialogflow agent you want to connect to Replycx.
- Configure the JSON key in the Dialogflow Action Block on Replycx.
How do I set it up?
To set up the Dialogflow Action Block in the bot flow, follow these steps:
1. Add the Action Block
- Click on ‘+’ to add an action block on the canvas.
- Select ‘Dialogflow’ from the list.
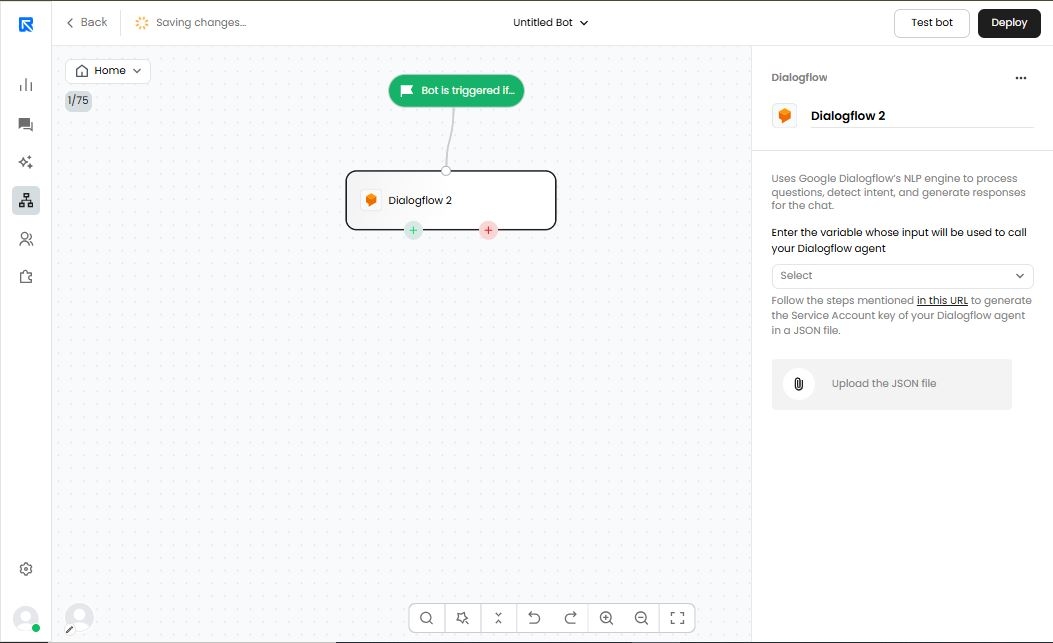
2. Configure the Dialogflow Block
- Double-click on the ‘Dialogflow’ block to open the configuration panel on the right.
3. Map the Variable
- Choose the variable where the visitor’s input is stored.
- Just like answering a question requires a question, sending an input to Dialogflow allows it to process and return the appropriate response to Replycx.
4. Upload the JSON File
- Upload the JSON key that was downloaded earlier.
Define Actions
- Configure actions for Success and Failure scenarios:
- Success: When Dialogflow successfully matches an intent and returns a response, you can either loop back to the same block or proceed to the next step.
- Failure: If Dialogflow fails to provide a valid response, define an action to handle the scenario. This may involve requesting the input again and looping back into the flow.