Key Capabilities
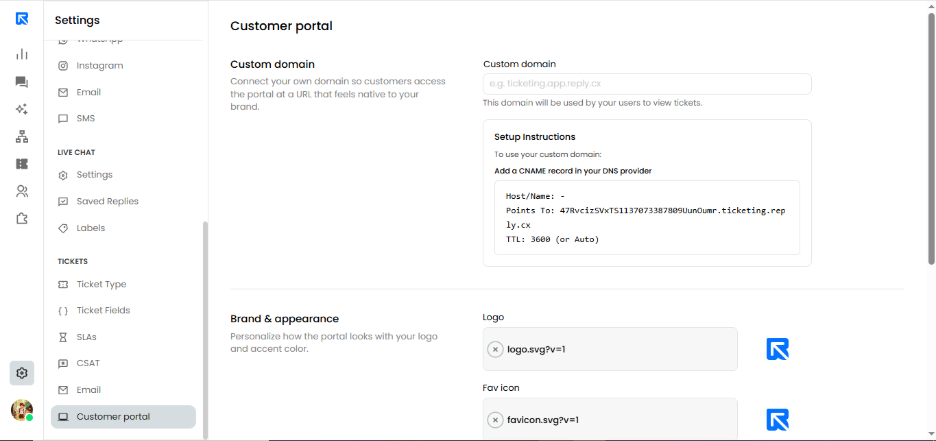
1. Custom Domain Integration
Establish immediate credibility by replacing default system URLs with your own professional subdomain (e.g., support.yourbrand.com).
How it works: Simply enter your desired domain by following the provided CNAME setup instructions to link your DNS provider to secure ticketing server.
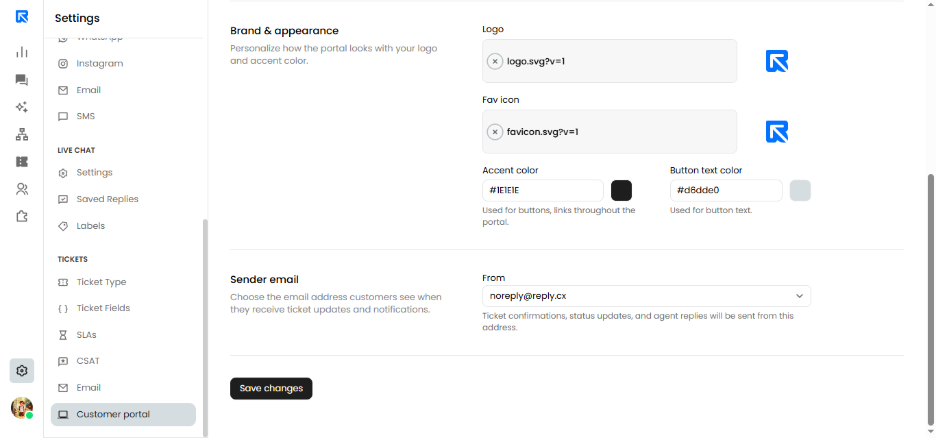
2. Brand & Appearance Customization
- Logo & Favicon: Upload your brand’s SVG files to ensure a sharp, professional look across all browser tabs and headers.
- Accent Colors: Use the Hex code selector to match your brand's specific color palette for buttons, links, and highlights.
- Button Text Contrast: Customize the button text color to ensure accessibility and high visibility against your chosen accent colors.
3. Unified Sender Identity
Ensure your automated communication is never mistaken for spam by aligning your portal notifications with your official support email.
- Sender Email: Use the dropdown menu to select a verified outbound address. All status updates, ticket replies, and portal invitations will be delivered from this identity.
Setup Guide
Location: Navigate to Settings → Tickets (Side Menu) → Customer Portal.
Execution Steps:
- Map your Domain: Enter your subdomain and apply the generated CNAME and Point To records in your DNS management console.
- Style your Workspace: Upload your visual assets (Logo/Favicon) and define your brand’s primary action colors.
- Finalize & Sync: Select your preferred "From" address for outbound notifications and click Save Changes.