Step 1: Create an Automation
Go to Settings >> Account >> Automations >> Select Ticket.

Step 2: Define your trigger criteria
ReplyCX allows users to create an unlimited number of automations by setting up multiple triggers (maximum limit to define a trigger is 25).
You can combine various conditions using Match ANY or Match ALL logic to build highly customized, complex workflows tailored to your specific support needs.
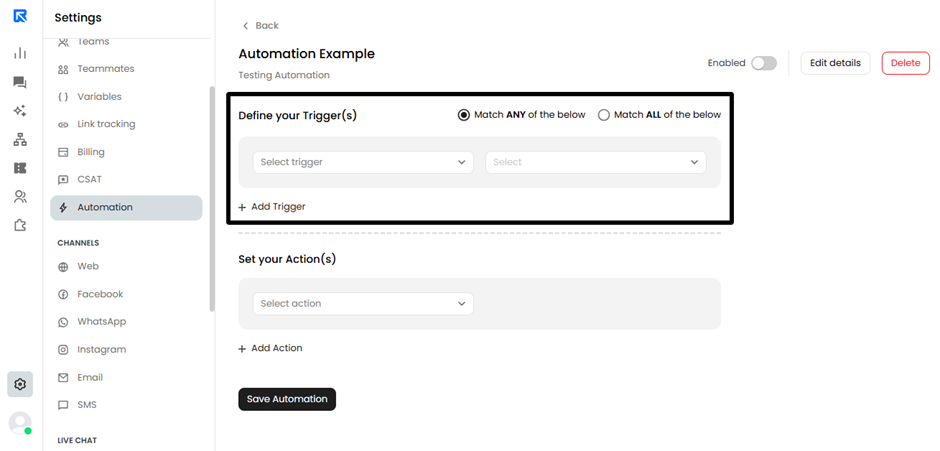
Below is a complete list of the triggers available in the "Define your Trigger(s)" dropdown and when to use them:
| Trigger name | When to use |
| Assignee | Use this to trigger an action based on agent assignment. You can do this with specific conditions: 1) Equals to: Triggers when the ticket is assigned to a specific agent. 2) Not equals to: Triggers when the ticket is not assigned to a specific agent. 3) Is away/offline: Triggers if the currently assigned agent is unavailable (ideal for automatically reassigning urgent tickets to an active agent). |
| Ticket Status | Use this to automate actions when a ticket's state changes (e.g., sending a CSAT survey when a ticket is marked "Resolved"). |
| First Response SLA | Triggers specifically when the predefined time limit for the agent's first response to the customer has expired without a reply. |
| Resolution SLA | Triggers specifically when the final timeframe to resolve a ticket has expired without a resolution. |
| Subject | Use this to trigger actions based on the text in the ticket's subject line. You can refine this with specific text conditions: 1) contains: Triggers if the subject includes a specific keyword or phrase. 2) does not contains: Triggers if the subject lacks a specific keyword. 3) equals to: Triggers only if the subject perfectly matches your exact input. 4) not equals to: Triggers if the subject is anything other than your exact input. |
| Label | Use this to execute actions when specific tags are applied to a ticket, helping categorize and process issues seamlessly. Available conditions: 1) equals to: Triggers when the ticket has the selected label applied. 2) not equals to: Triggers when the ticket does not have the selected label applied. |
| Ticket Type | Use this to handle tickets differently based on their category. Available conditions: 1) equals to: Triggers when the ticket is categorized as the selected type. 2) not equals to: Triggers when the ticket is anything other than the selected type. |
| created | Use this to trigger actions based on the specific time or day a new ticket is generated. You can select the "During" condition to specify: 1) Select All: Triggers regardless of when the ticket is created. 2) Business Hours: Triggers only if the ticket is created during your defined operational hours. 3) Non-Business Hours: Triggers if the ticket is created outside of operational hours (perfect for automated "we are away" replies). 4) Holidays: Triggers if the ticket is created on predefined system holidays. |
| Source | Use this to trigger actions based on the ticket's origin (e.g., Select All, Manually, Chatbot, Email, API). Available conditions: 1) equals to: Triggers if the source matches your selection. 2) not equals to: Triggers if the source is anything else. |
| Comment | Use this to trigger an action whenever a new reply or note is posted to the ticket thread. Available condition: 1) is added: Triggers exactly when a new comment is submitted. |
| Priority | Use this to trigger actions based on the ticket's assigned urgency level. Available conditions: 1) equals to / not equals to: For matching or excluding specific priority levels (e.g., "High"). 2) is empty / is not empty: Triggers based on whether a priority level has been assigned to the ticket yet or not. |
Step 3: Define your Automation Actions
Once your trigger conditions are met, you need to define what the system should automatically do. In the Set your Action(s) section, you can choose from a variety of automated responses to streamline your workflow.
Just like triggers, you can set up multiple actions (maximum limit to set an action is 25) to execute simultaneously when an automation fires.
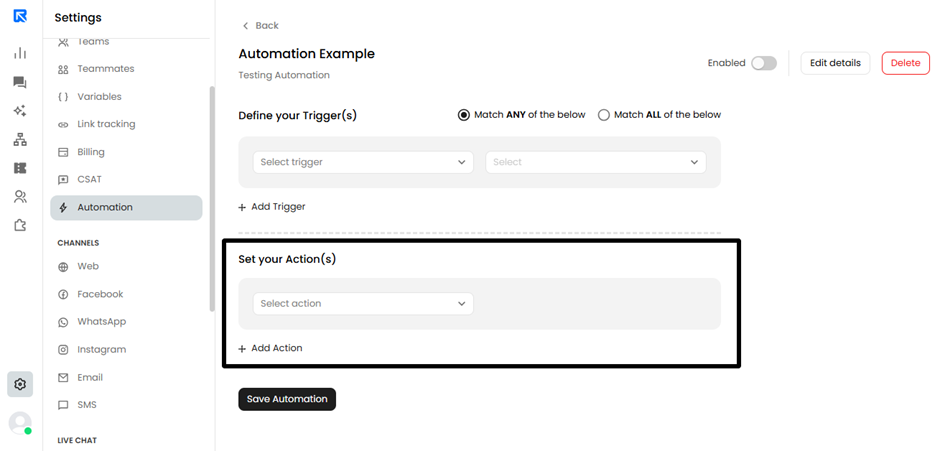
Below is a breakdown of the available actions and what they do:
| Action name | Description |
| Change Assignee to | Automatically routes the ticket to a specific agent, team, or department, ensuring it gets to the right hands without manual sorting. |
| Ticket Status | Updates the current state of the ticket (e.g., automatically setting a ticket to "Waiting for Triage" when the ticket is created during “Business hours”, or "Escalated to Technical Team" if the ticket priority define as “Critical” or “Blocker”). |
| Add response | Automatically sends a predefined public reply to the customer in the ticket thread (great for quick acknowledgments or standard answers). |
| Add internal note | Leaves a private comment on the ticket that only your agents can see. Useful for leaving automated context, instructions, or warnings for the assigned agent. |
| Add Label | Automatically applies specific tags/labels to the ticket to help categorize, filter, and organize your inbox seamlessly. |
| Send Email | Send a customized, formatted email (supporting HTML) to the customer, assignee, or a custom email address. Perfect for SLA breach alerts, external notifications, or follow-ups. |
| Http Request | Triggers a webhook or API call to communicate with your external software or databases using Http Request methods like: · GET – to fetch or read data, · POST – to send or create data, · PUT – to update existing data |
| Priority | Automatically updates the urgency level of the ticket (e.g., instantly escalating a ticket to "Critical" if “subject” of the ticket contains specific keywords like “Very Urgent” or “Immediate Action Require”). |
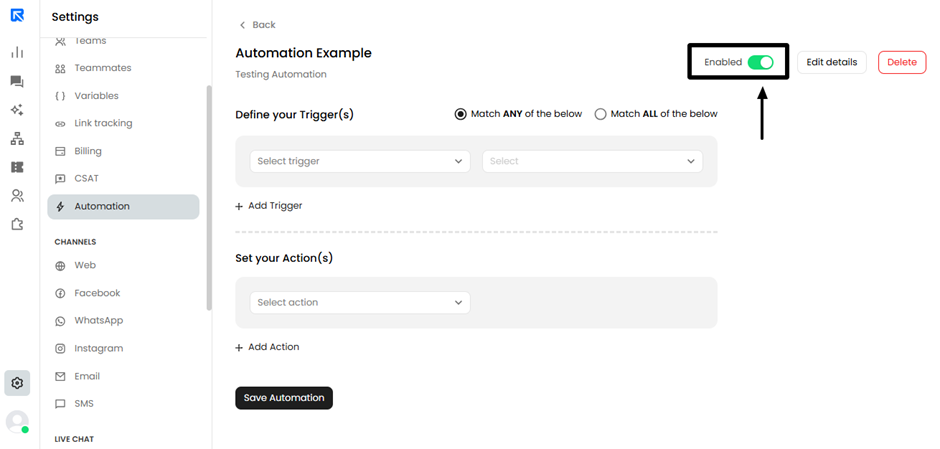
Step 4: Activate your automation
Finally, turn the automation on to activate it and have it run whenever the trigger conditions are met.
Example: Automated SLA Breach Notification
The example below demonstrates how to use automation features to notify customers when a Service Level Agreement (SLA) is breached.
In this workflow, the system monitors response and resolution timelines and automatically informs the customer in case of any delay.
The automation ensures that customers are proactively notified if:
- The agent fails to respond within the defined SLA time.
- The ticket is not resolved within the promised timeframe
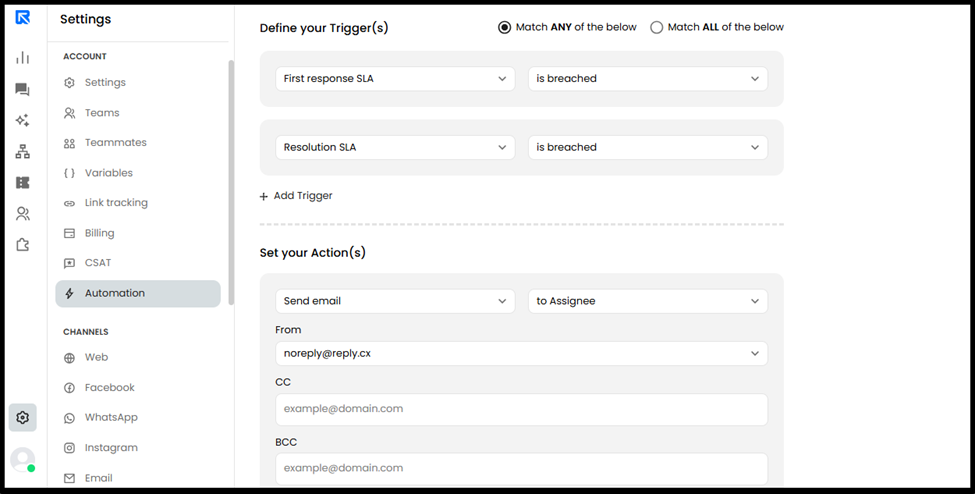
Step 1: Define the Trigger
In the “Define Your Trigger(s)” section, configure the automation to execute when ANY of the following conditions are met:
- First Response SLA Breached(The agent did not respond within the expected time)
- Resolution SLA Breached(The ticket was not resolved within the defined SLA window)
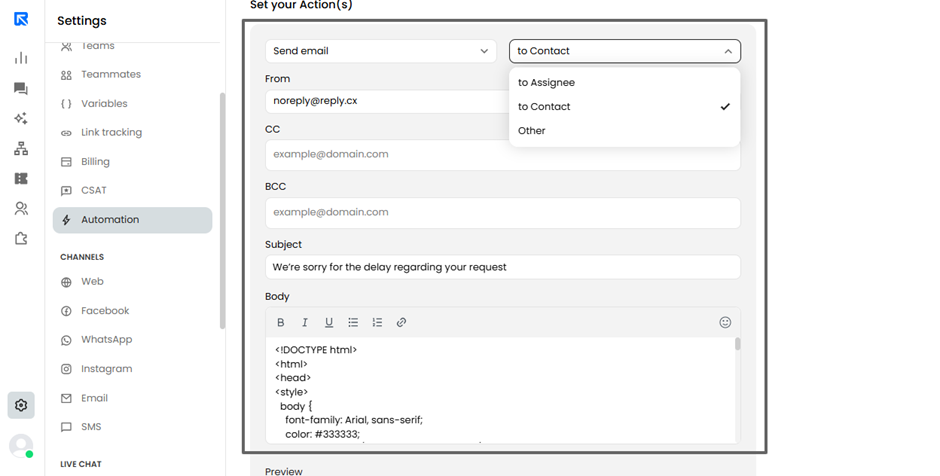
Step 2: Configure the Action & Sender Identity
Once the trigger conditions are met:
- Set the action to “Send Email to Contact/Assignee/Others”
- Select a predefined sender email (e.g., noreply@reply.cx) from the dropdownEnsuring all automated communications are sent from a verified and brand-aligned email address
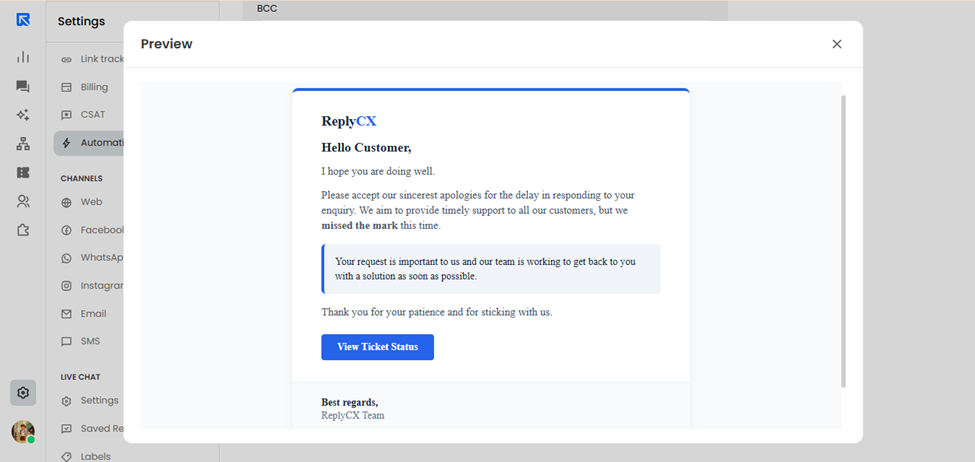
Step 3: Outcome: After enabling this automation:
- Customers will automatically receive a professionally Manually written as well as HTML formatted email when an SLA is breached.
(Note: HTML content is also supported in the email body which gives an ability to create rich, formatted email templates) - The email will communicate the delay clearly and maintain transparency.
- No manual intervention is required from the support team.
Quick Tips
Match ANY vs. Match ALL:
- Use Match ANY to trigger the email if either condition is breached
- Use Match ALL only if you want the email to trigger when both conditions are breached