ReplyCX Documentation
Login
  • ⛩️Welcome to ReplyCX Knowledge Base! 📚
    • ReplyCX Basics
  • ▶️GETTING STARTED
    • Building a Chatbot
    • Testing a Chatbot
    • Channel Configurations
    • Deploying a Chatbot
    • Utility Tools
  • 🧩ACTION BLOCKS
    • Overview
    • Trigger
    • Send Message
    • Collect Input
    • Buttons
    • Carousel
    • Calendar
    • Send an Email
    • Condition
    • Image Carousel
    • Human Handover
    • Slider
    • Collect File
    • Delay
    • Form
    • Flow
    • Code-block
    • Options
    • Jump
    • List
    • Reply Button
    • AI Model
    • SET AI
    • Answer AI
    • AI AGENT
    • Webhook
    • Javascript
    • Send Status
    • Http Request
    • Dynamic data
    • Whatsapp flow
  • 🦾AI Studio
    • Building a GPT Chatbot
    • Knowledge Base
    • Training on historical live chat to generate response
    • Retrain frequency for URL data source
    • Custom Answers
    • Function Call
    • Prompts
    • Tokens
    • Setting up retrain
    • Advanced Crawling Criteria
  • ⛓️Integrations
    • Types of Integrations
    • Service Call
    • Google Sheets
      • Support for “Update Record” in Google Sheets
    • Codeblock
    • Google Calendar
    • Calendly
    • Zoho CRM
    • Hubspot
    • Dialog Flow
    • Events
    • Google Analytics
    • Freshdesk
    • Salesforce
    • Zapier
    • Airtable
    • Public API's
  • 🟢WhatsApp Business API
    • Prerequisites
    • WhatsApp Business API - Meta
    • Using a test WhatsApp Business API account
    • Product catalog on WhatsApp
    • Sync WhatsApp Template
    • Support for Carousel template message
  • Instagram
    • Using the Instagram Channel
  • 💬Live Chat
    • Overview
    • Saved Replies
    • Manage Saved Replies
    • Message status on live chat
    • Generating Response Using AI.
    • Rewriting existing response with AI
    • Labels
    • Managing Labels
    • Qualification details covered during a conversation
    • Settings
    • Filter conversations
    • Conversation History
    • Close a conversation
    • Related / Past Conversations
    • Elements on conversation card
    • Kind of Conversation Status
    • Copy Chat Transcript of a Conversation
    • Customize Live Chat Screen
    • Restart Conversation
    • Blocking Contacts
    • Agent status on live chat
  • ⚙️Troubleshooting
    • Variable Manager
    • Fallback Variables
    • Human Handover Configuration
    • Clone a bot
    • Preffered Image Dimensions
    • Working of Link Tracking
    • Setting up variables using trigger block
    • Availability of agents in Human Handover
    • Creating loop in the conversational flow
    • Requesting Edit Access
    • Cookies
  • 📢Outbound Bots
    • Outbound Action Blocks
      • Delay
      • Send WhatsApp
      • Send SMS
      • Send Email
    • Building a One-Off Campaign
    • Building a Ongoing Campaign
    • Creating WhatsApp Templates
  • 📱Chat Widget Customization
    • Embedding Chat Widgets
    • Customize Chat Widget UI using CSS
    • Display Chat Widget in iFrame
    • Change Appearance
    • Chat widget 3.0
  • 🏦Account Management
    • Manage Teams
    • Manage Teammates
    • Manage Roles
      • Channel configuration Permission
    • Opt Out Management
  • 📊Reporting
    • Custom Reports
    • Contacts Feature Recap
    • Scheduling Contact Report
    • Weekly Reports and Interactions
    • Export a contact list
    • Tracking link clicks on chatbot messages
    • Agent Report
    • AI Agent Report
    • Outbound Report
  • 🧑‍💻 Support
    • Forget Password
Powered by GitBook
On this page

Was this helpful?

  1. Account Management

Manage Teammates

PreviousManage TeamsNextManage Roles

Last updated 1 month ago

Was this helpful?

Reply CX agents are the trusted experts who, at any moment, can lend a helping hand to guide visitors along their journey. These highly-skilled professionals have access to the powerful portal and equip every visitor with helpful knowledge during their time on the website.

Agents with Reply CX make customer support an even more personable experience; visitors will be able to get faster resolution and assistance from real humans, offering a level of service not traditionally seen online.

Unlock the power of selection, defining accessible roles for agents - from full administrator control to more limited access.

Adding Teammates:

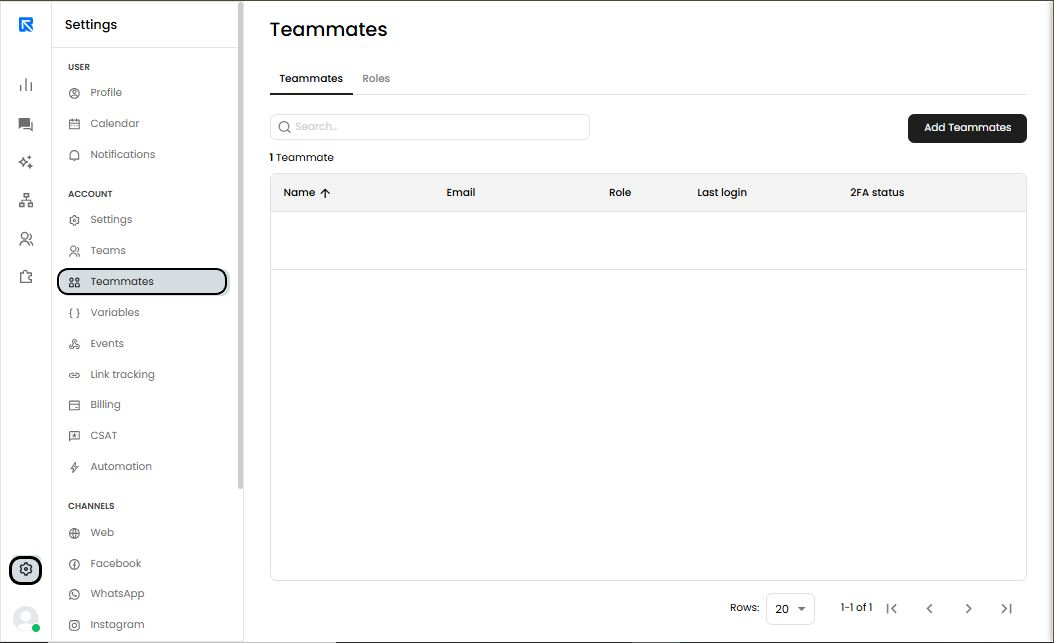
  1. Click on 'Teammates' option under the 'Account' section.

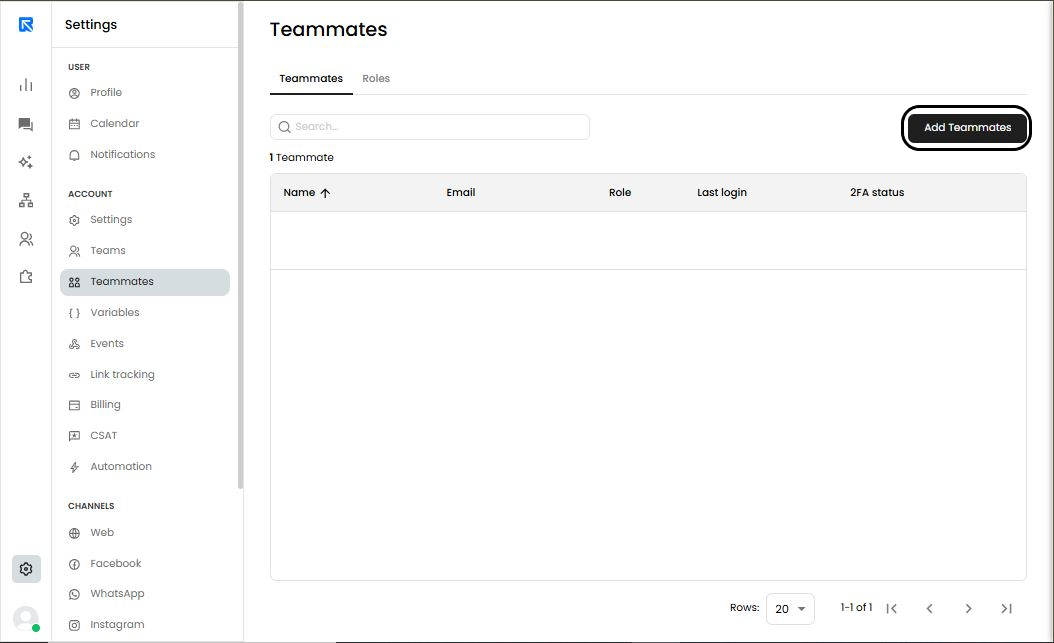
  2. Click on ‘Add Teammates’ on the top right corner to create a teammate.
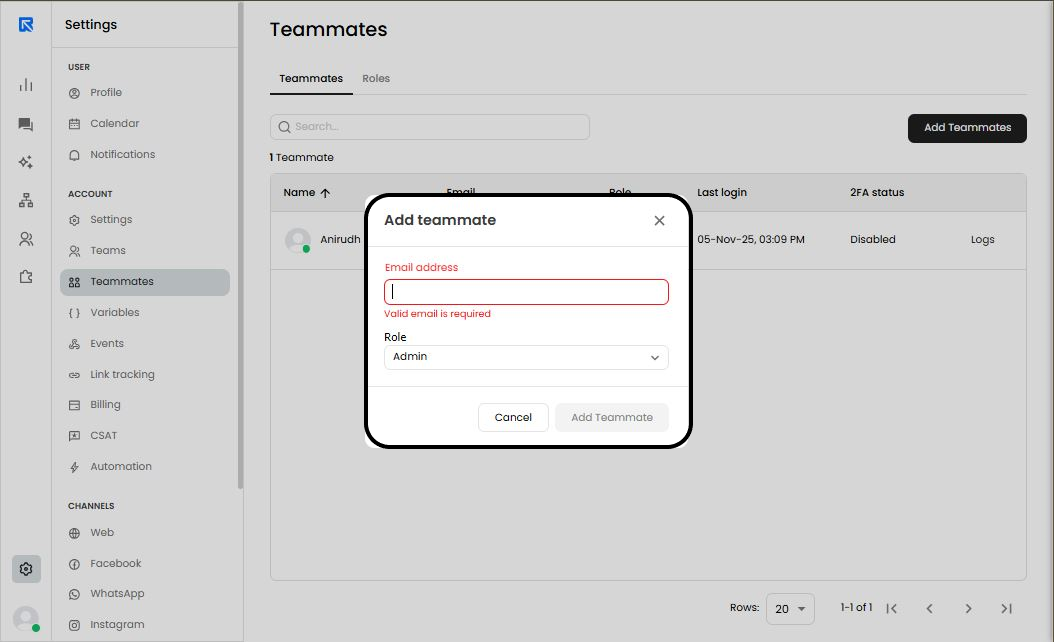
  3. Define their roles:

    • Admin role: By entrusting a teammate or agent with this role, they'll gain valuable administrative access that enables them to make adjustments in the account - such as reconfiguring teams and customizing settings.

    • Agent role: By assigning this role to the teammate/user, their contact with visitors will be limited ensuring that they have no access or power over changes in accounts.

  4. Click on ‘Add Teammate’.

🏦