A contact is a powerful connection between visitors and businesses. By supplying their information, customers open the door to meaningful communication and potential opportunities for future collaboration.
Our friendly bot is like a virtual rolodex - it not only remembers interactions with visitors, but also stores their details for easy reference.
Contact Creation:
When a visitor engages with your bot and supplies an email or phone number, you can create the perfect environment for customized interactions.
ReplyCX offers so much more than just answers - it also provides valuable data on the chat, like variable values from each session and location details such as city name, country code or zip.
There are three ways in which a contact can be created in ReplyCX:
- Using ‘Form’ - With this action block, the visitors will be asked to fill up the form while having the conversation with the bot. Users can define the fields of the form as per their preference.
- Using ‘Collect input’ - Using this action block, the visitors will be asked to answer the questions while having a conversation with the bot. The user can define the question that they would like to ask their visitors.
- Passing contact details via APIs - When contact details are received via an API call and stored into contact variables.
Importance of Contacts:
The level of significance attached to customer contact varies depending on the application for which you are using your chatbot.
If you're reading this article, chances are that you have joined the majority in relying on a chatbot to open up new avenues of lead generation.
With the help of contacts:
- You can view all the leads generated by the bot
- You can filter and export the lead list for filtering or importing to CRM.
- Schedule reports to be sent on a daily / weekly basis.
Exporting the contact list / inquiries collected by the bot:
There are three options available to export the contacts and inquiries collected by the bot:
- Direct Export - Select the date range, required columns, and export the list into CSV file.
- Schedule Report - Receive the contact report on the defined email addresses either daily or weekly.
- Integration with CRM - Integrating the chatbot with your CRM, so that whenever a lead / inquiry is generated, it is automatically sent to your CRM.
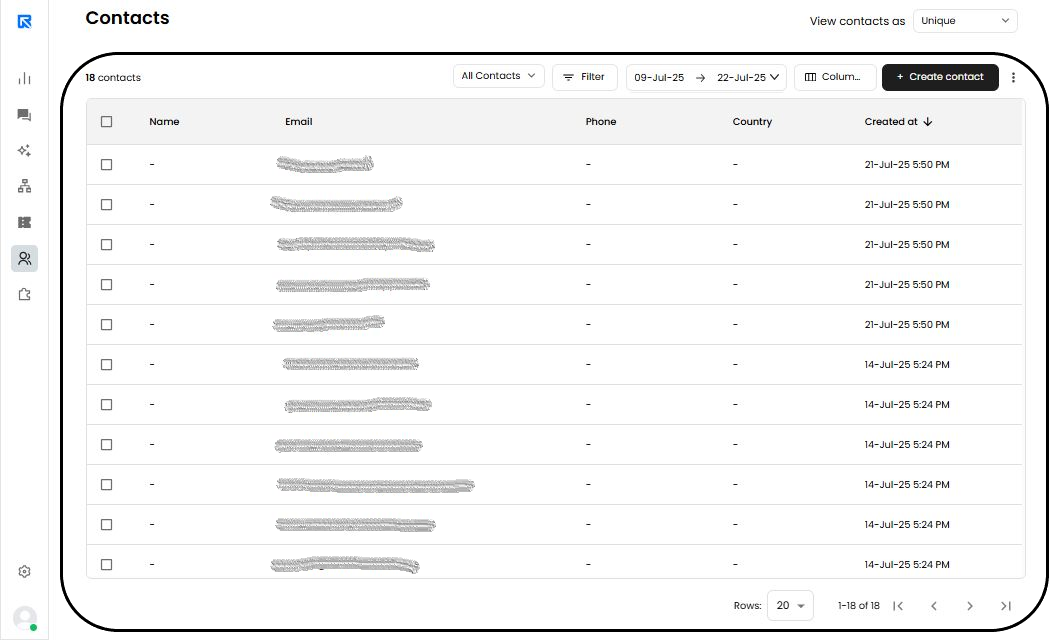
Contacts Create and Edit:
You can create a new contact or edit the saved contacts from contacts section.
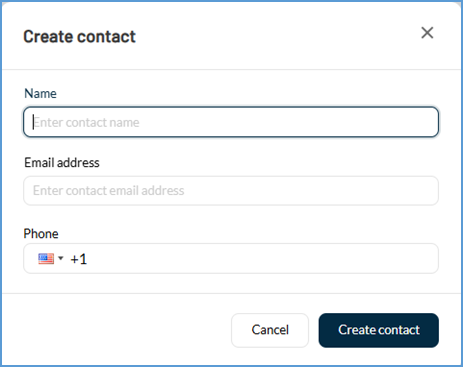
To create a contact:
Go to Contacts section --> Click on Create contact to create a new contact -->Add name Email address and phone Number.
To Edit Contact:
Go to Contacts Section --> Click on the contact which you want to edit --> Click on the edit option --> edit the details accordingly and save.