
Labels are now available to help users organize conversations according to their own needs, giving them the freedom to filter out chats and effortlessly access specific topics at any time.
ReplyCX encourages its users to take advantage of labels.
- Grouping the conversations as per their objective
- Easy access to the historic conversations
- Prevents time consumption from filtering out the conversations
Use case scenario:
With its primary goal of generating leads, the bot's challenge is to spot potential prospects from a steady stream of conversations each and every day.
In the above screenshot, we can notice that the user has created four labels “Intent to purchase”, “Good Lead”, “Student”, “Debugging needed” allowing the user to group the conversation on the basis of purpose it serves.
Accessing the label screen:
There are two ways through which the users can access the labels:
-
Live Chat Screen:
The labels will be visible to the users on the live chat screen along with the number of conversations assigned to them. -
Settings tab:
Users can access the label screen going into ‘Settings → Live Chat → Labels’.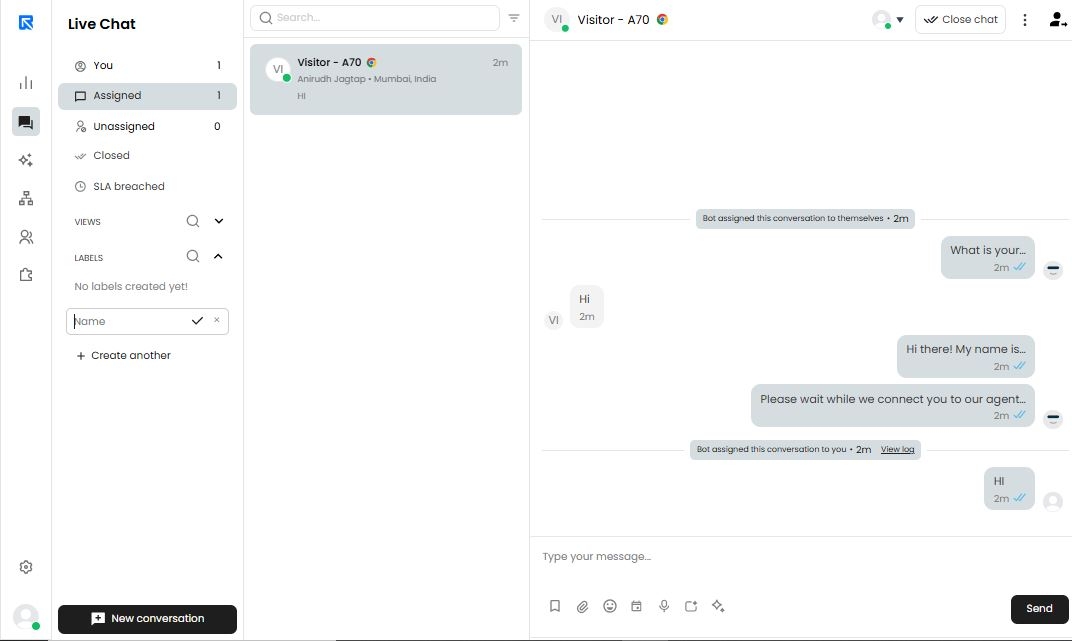
This screen displays all the details about the labels i.e., the name of the label, conversations assigned to it, created by, along with date of creation and options to edit and delete the same.
Action that can be performed on labels:
Users have the ability to perform the following actions on labels:
- Create new labels:
This functionality allows users to create new labels at any given point of time. - Modify existing labels:
This functionality allows users to make changes in existing labels which are already created. - Delete labels:
This functionality allows users to delete the existing labels once they have served their purpose.