
HubSpot is a popular CRM of choice for all kinds of businesses. Although it has grown to offer other functions like ticketing, email automation, etc., it is primarily being used by businesses as their CRM (Customer Relationship Management) tool.
With Reply CX’s HubSpot integration, users can create a contact on HubSpot with the details captured by the bot.
Setting up Hubspot:
-
Add the action block on canvas by clicking on ‘+’.
-
Select the 'Hubspot' block.
-
Configure the block on the right panel.
Click on ‘Hubspot’ action block to open the configuration panel on the right side of the screen.
In-order to configure the 'Hubspot' action block, you will have to follow steps below: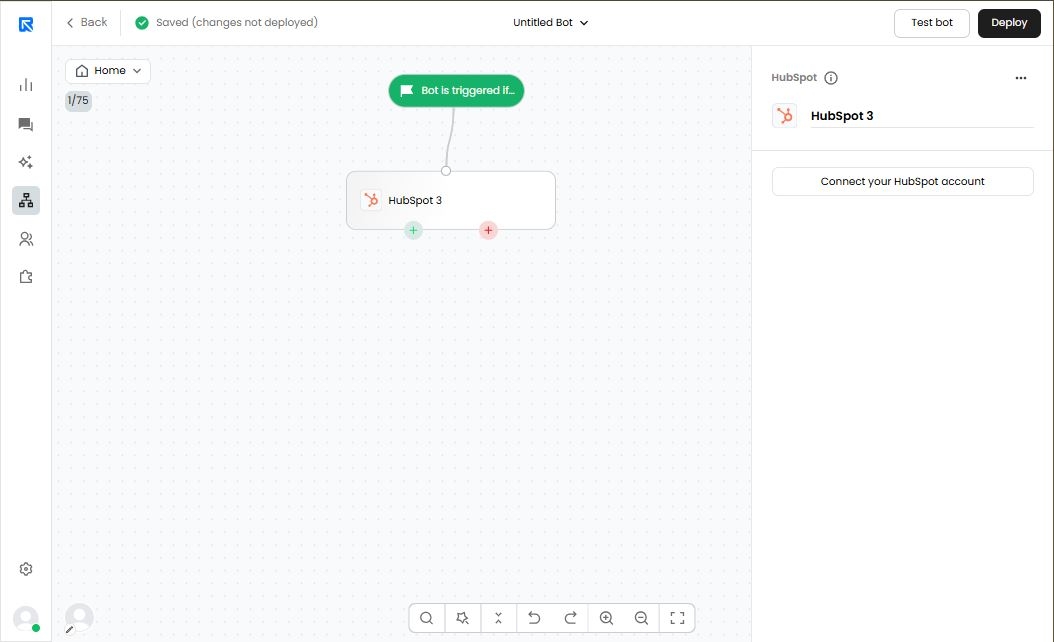
Connecting account:
Connect your HubSpot account by authorizing the access and choose the account from the list.
HubSpot’s authorization will open a new window. Please make sure you have not blocked pop-up window from being opened.
Mapping the fields:
Map the fields of HubSpot with variables that you used to collect and store information of the user.
HubSpot fields are auto-populated, whereas in the Variables column you would need to write the variable by typing # to see the list of variables.
Depending on the field type, ReplyCX would automatically display the variable column. Like in the image below you see that “Lifecycle Stage” has a dropdown auto-populated.
Make sure you add a Lead Source field with the values as ReplyCX to easily report the number of leads chatbot generated for your business.