The Zapier integration allows you to send data to a Zap and trigger its workflow.
Follow these steps to set up the integration:
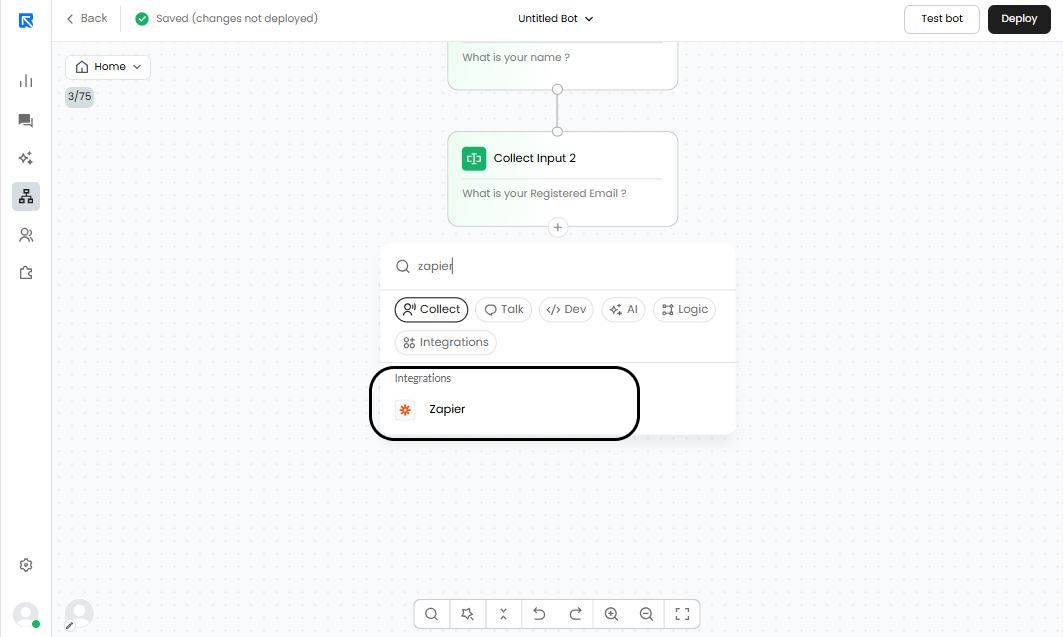
Step 1: Add the Zapier action block to your chatbot flow by clicking the ‘+’ button.
Add the Zapier action block on the chatbot flow.
The Zapier integration will be triggered as soon as the flow reaches this action block.
Step 2: Create a Zap on Zapier
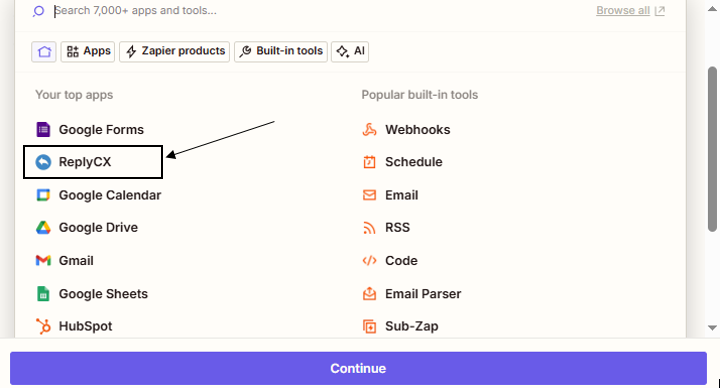
Next, go to your Zapier account and create a Zap.
- Choose 'ReplyCX' as the trigger.
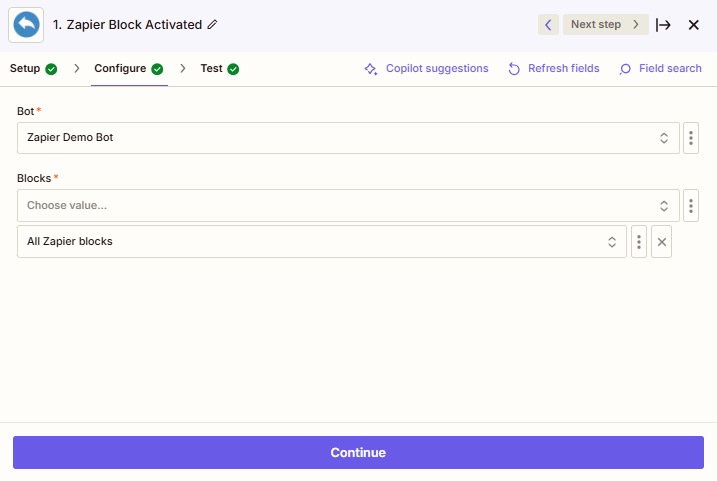
- Choose 'Zapier block activated' on "When this happens..."
- Add the ReplyCX token from the Zapier action block on the 'Connect ReplyCX' input
- Choose the 'Bot' from the dropdown
- Choose the 'Block' from the dropdown.
Step 3: Test your zap
Once you’ve entered the required information, click ‘Test Action’ to verify the connection with ReplyCX.
You will then see all the variables defined in the chatbot, which can be mapped to your chosen app within Zapier.

Step 4: Create your action with the destination app
Next, configure the action you want Zapier to perform when the zap is triggered.
This could be creating a lead in your CRM, sending data to Google Sheets, or any other supported action.
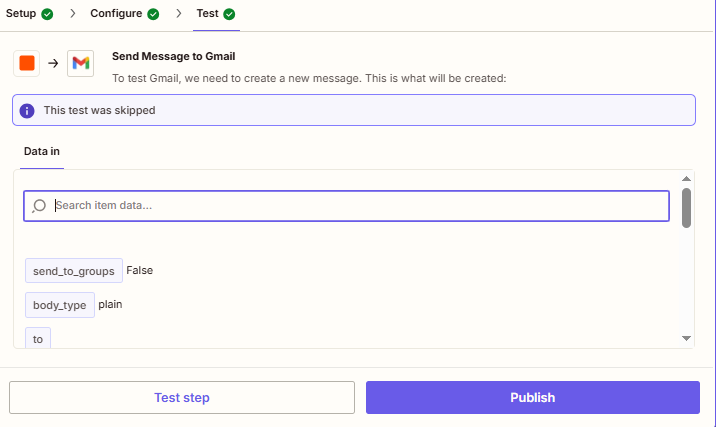
Step 5: Publish the zap and go live
Click on ‘Publish’ to publish the Zap and go live.