
GPT chatbots are smart bots that use data to answer questions.
GPT chatbots are very popular right now because of ChatGPT.
ChatGPT has made it easier to ask questions and get answers that are quick, accurate, and to the point.
Here are the steps to create your own GPT chatbot:
As an example, we'll build a GPT chatbot for a website to answer users' questions. If the bot doesn't know the answer, it will provide customer support contact details.
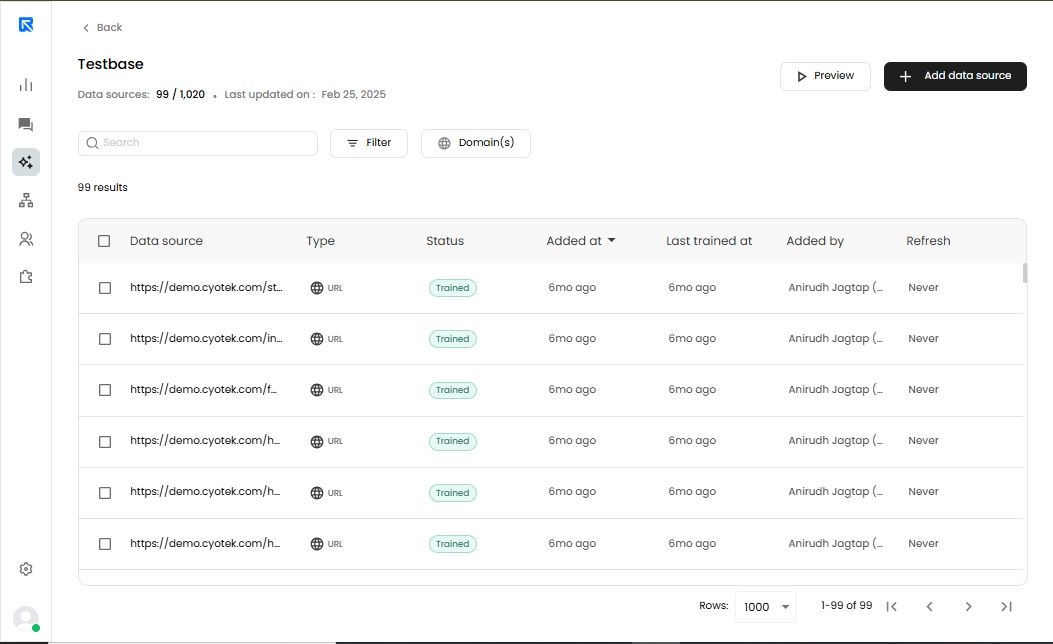
Step 1: Creating a Knowledge base
The key to a GPT chatbot is developing a knowledge base filled with the information you want it to use for answering questions.
Since we aim to answer questions from the website, let's create the knowledge base.
- Go to the AI Studio -> Add Knowledge base -> Add data source.
- Select the URL as the data source.
- Enter the domain of your website.
- Hit 'Train' and wait until all URL (s) are being fetched.
Step 2: Build a bot
Next, we need to create a bot that will communicate with visitors and use the knowledge base to find answers to their questions.
Go to the Bot Builder -> Build a bot -> Inbound -> Web.
Step 3: Adding the Answer AI
Following the trigger action block, we will insert the 'Answer AI' action block.
- Include a welcome message such as "Hey there! How can I assist you today?"
- Select the "Knowledge base" we developed.
Additionally, we will set up the 'Answer AI' block according to our requirements. For this example, I will use the following configuration:
Instructions:
Instructions guide the AI on how you want the answer to be generated. Write a clear and concise instruction.
“I want you to act as a support agent. Your name is "AI Assistant". You will provide me with answers from the given info. If the answer is not included, say exactly "Hmm, I am not sure." and stop after that. Refuse to answer any question not about the info. Never break character.”
All other advanced settings are kept as it is. You can choose to tweak it if needed.
Step 4: Adding fallback measures
The AI won't always be able to answer your question. This could be because it lacks the necessary data or the question is too vague to generate a response.
Therefore, it's crucial to always have fallback measures in place to assist users.
In this example, after the AI provides an answer, we will ask the user if the response was helpful.
Click on the success path and select "Add another block."
Here, we'll add a button block with the message "Did this answer your question?" and the following options:
- Yes - Ends the flow with a thank you message “Glad we could help!”
- No - Apologize and share support details like “Sorry we couldn’t answer your question. Feel free to reach out to us or call us for more assistance.”
This ensures that users always have an alternative way to get their questions answered if the GPT fails. You can also extend the failure flow to gather details about their issues and either create a ticket in your support system or notify your team via email.