Leveraging reply buttons simplifies the user's response to a question, providing an enhanced interface with up to three buttons. If additional options are required, it is advisable to employ the Options or List action block.
This action block is only supported for the WhatsApp channel.
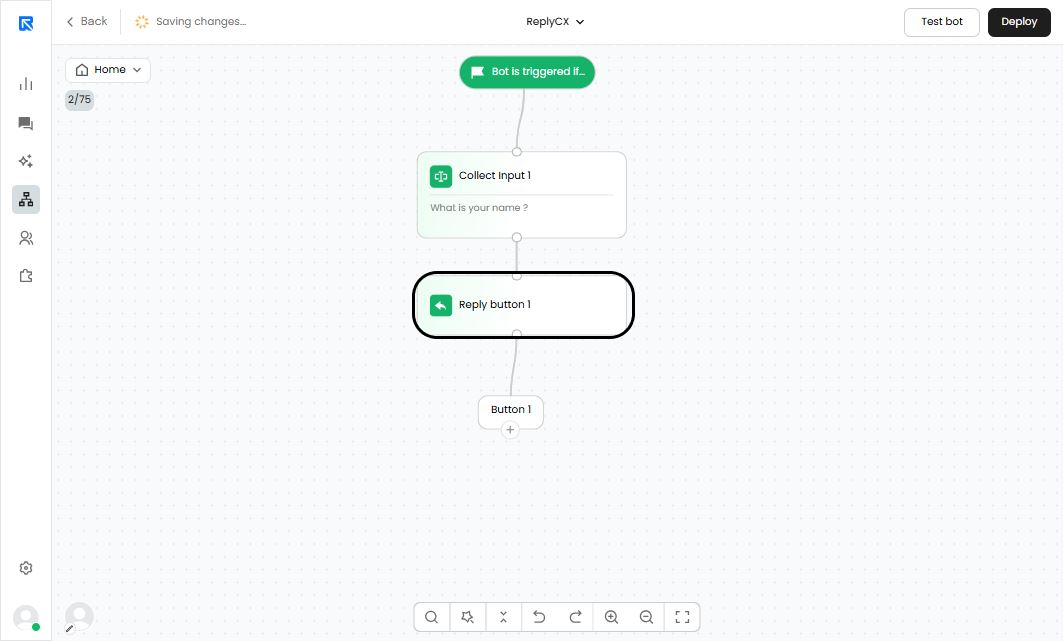
Setting up the Reply Button block:
Add the action block to the flow by clicking on ‘+’. Search for the "Reply Button" action block and select it.
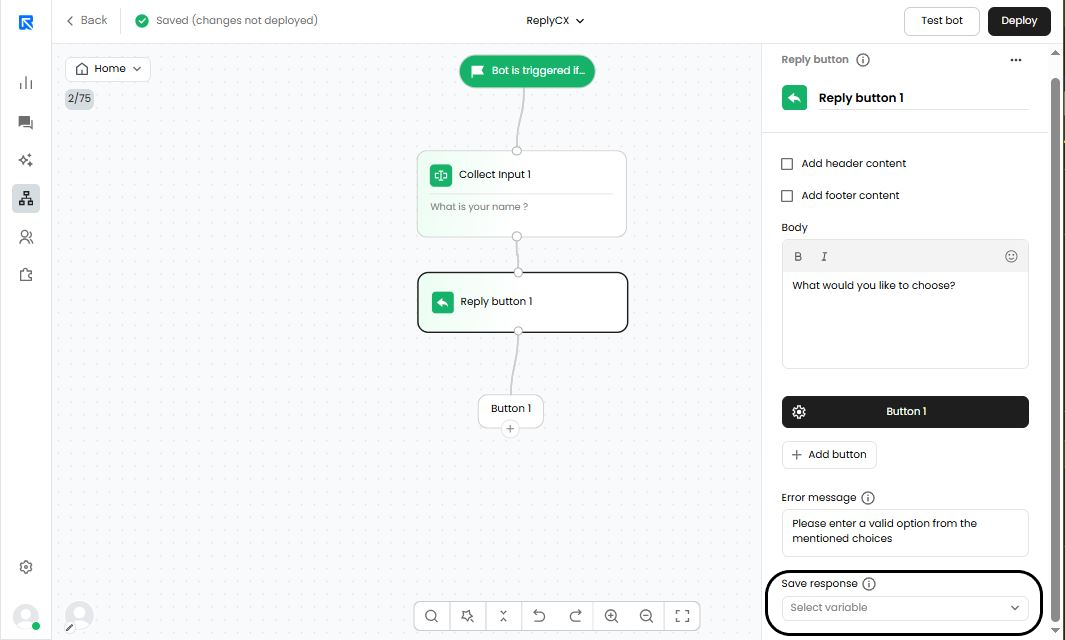
Configure the Reply Button action block:
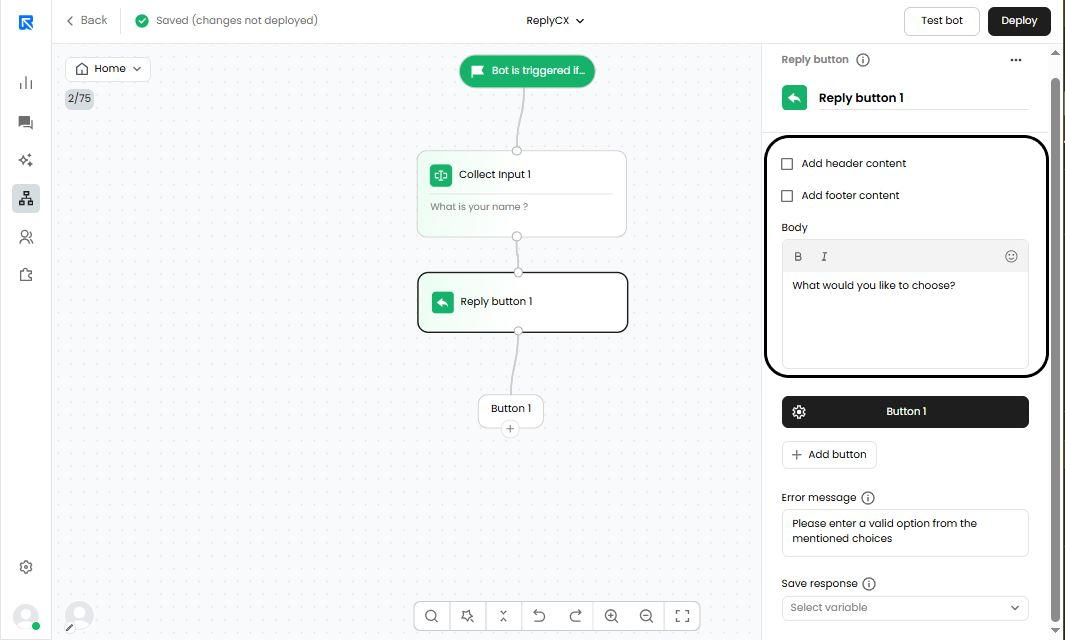
Header:
You can keep 3 types of headers:
- Text - Shows plain text in the header section
- Media (Static) - Displays an image, video or gif
- Media (Dynamic) - Gives ability to display rich media dynamically through the use of variables.
Body:
It can contain any message that is to be displayed to the user.
1] Button name:
You can edit the button name from here, up to 3 reply buttons can be added in a block.
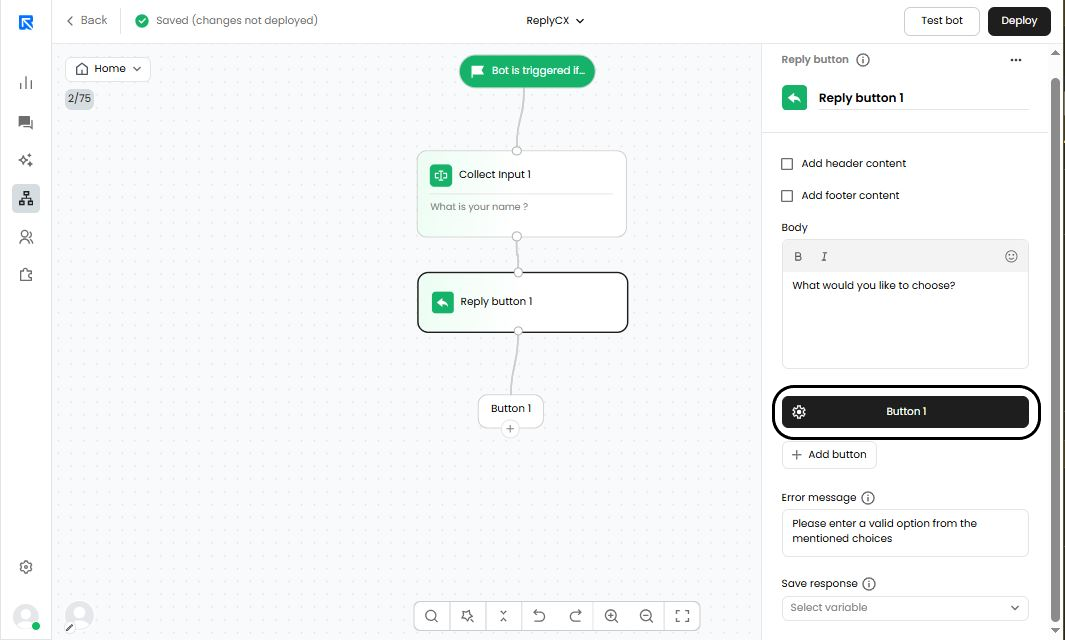
2] Variable:
Whenever user clicks on a button, the value can be stored in a variable, and can be used in the chat flow later or for future reference.
This feature will only work if link tracking is enabled.
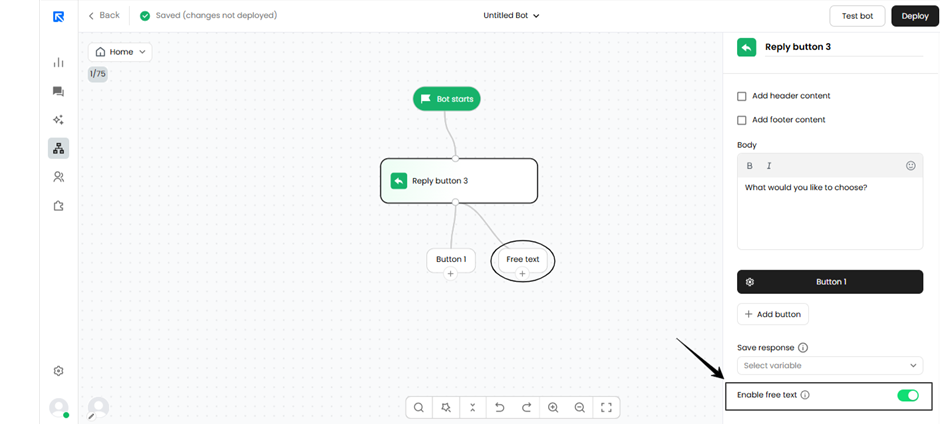
Enable Free Text
When the “Enable free text” option is turned on, users can either select from the predefined buttons or enter their own message directly in the chat input. In addition, a new “Free text” node will appear on the canvas, which can be connected to an AI agent action block to generate AI-driven responses.
This setup enables more natural, two-way conversations, allowing any user-entered free text to be processed by an AI agent for dynamic and contextual replies.