
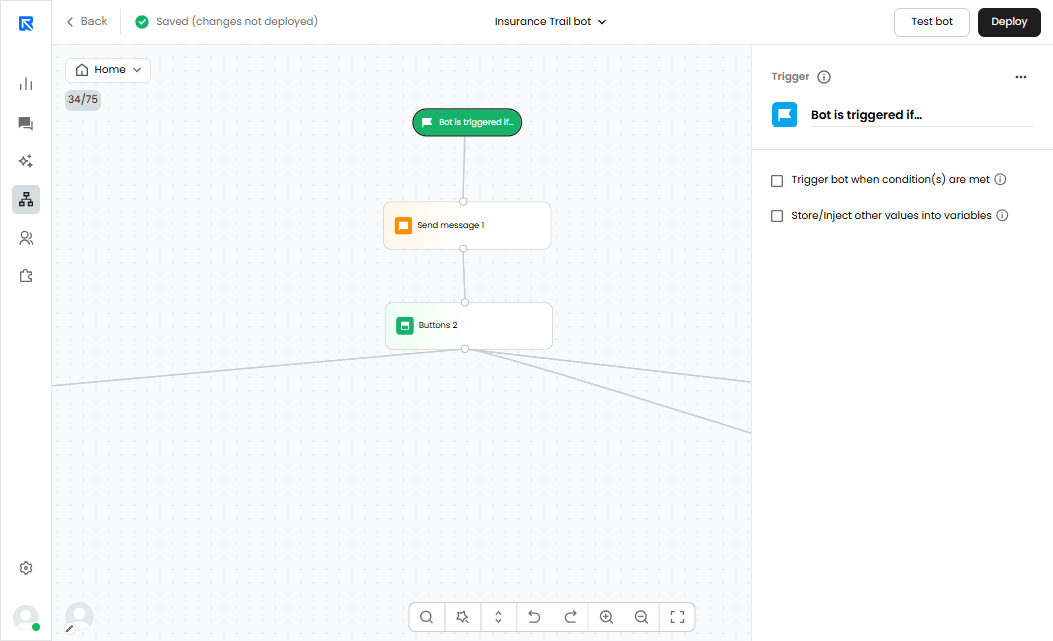
The Trigger block in ReplyCX helps us decide which chatbot to activate when a customer initiates a conversation.
Since multiple chatbots can exist within our account, configuring trigger conditions ensures the right chatbot is launched based on the context. We can also combine conditions using AND / OR logic to create more precise rules.
Here are the available trigger conditions:
| URL | Triggers the chatbot based on the webpage the user is on. E.g., “URL contains pricing” or “URL equals https://reply.cx” |
|---|---|
| Browser language | Uses the user’s browser language to trigger a chatbot. E.g., “Language is French” |
| Date range | Activates the chatbot only within a specific date range. Useful for seasonal campaigns or special announcements. |
| Keyword | (WhatsApp & SMS only) Triggers when a user sends a specific keyword. E.g., “Book appointment” |
| Button payload | (WhatsApp & SMS only) Triggers when a user clicks a button on a template message sent by the business. |
- Conditions are not mandatory.
- If no conditions are set, ReplyCX will trigger the first active chatbot by default.
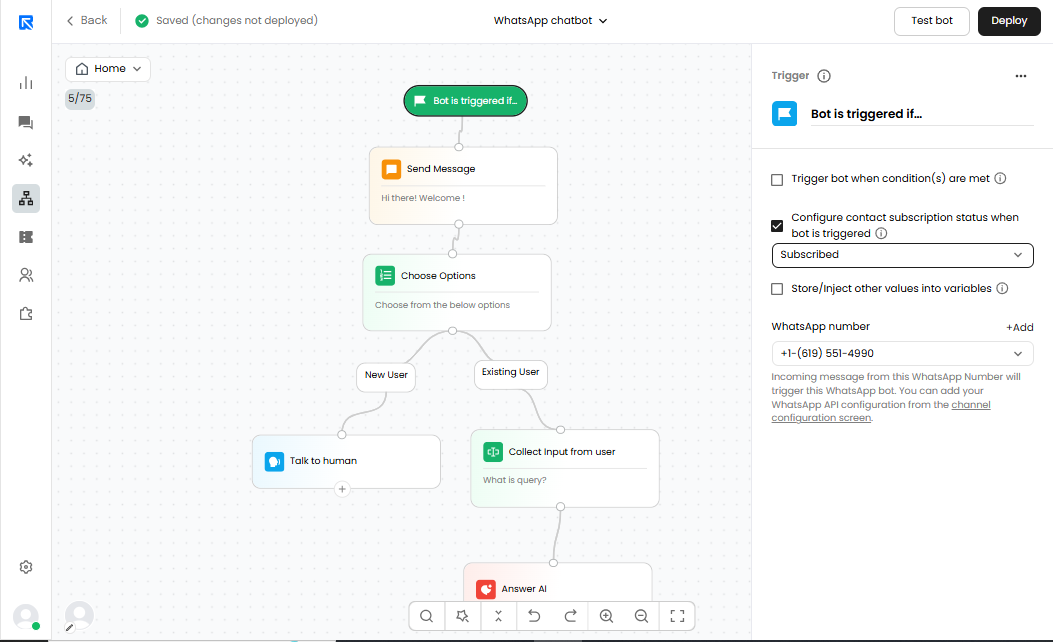
Contact Subscription:
Applicable only for WhatsApp and SMS.
In channels like WhatsApp and SMS, businesses can reach out to contacts at any time, even if the contact doesn't want to have a conversation.
Countries' laws mandate that companies maintain a subscription status for each contact, meaning that a contact has subscribed or unsubscribed from receiving your communication. This is similar to how un-subscription works on emails.
SUBSCRIBED - Will receive any new template message that the company sends as a promotion.
UNSUBSCRIBED - Will not receive any template message that the company sends as a promotion.
So, based on the conditions you define for the trigger, you can choose to set the subscription status for the contact.
Generally, you should always have two chatbots:
- Your main chatbot, which has the 'Subscribed' status
- An acknowledgment chatbot for when users type 'STOP.'
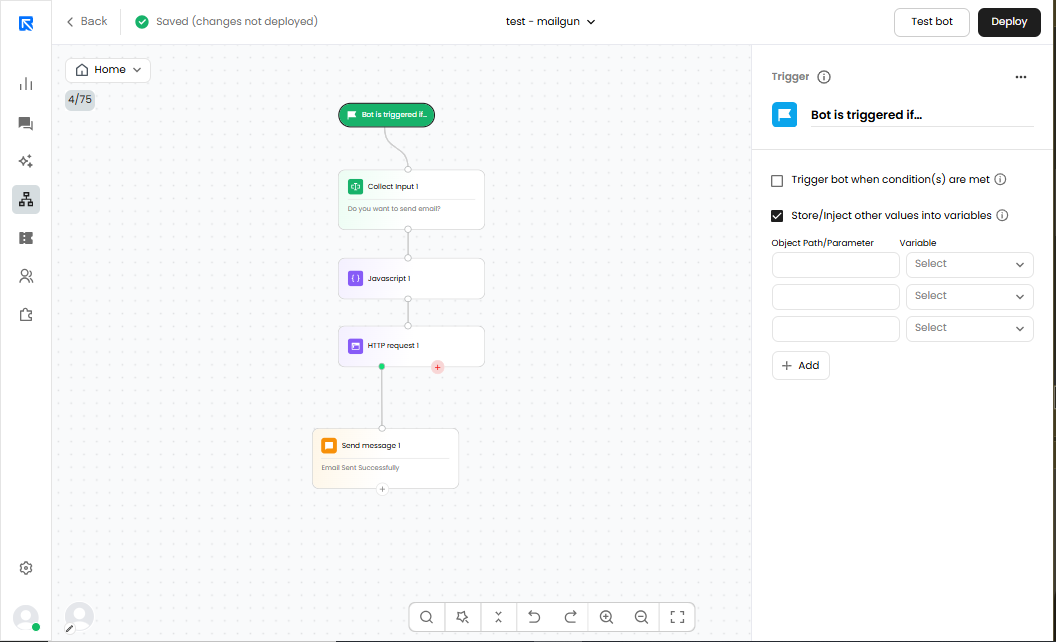
Inject data into the chatbot:
If you want to send external data to the chatbot, you can use this option. Once enabled, you can map the fields that contain the value with the ReplyCX variable.
There are two ways to inject the data:
Using Query Parameters:
With this method, when the ReplyCX snippet is loaded on the website for the first time, the defined query params and their values will be stored in the ReplyCX variable.
For example, if your URL is the following www.reply.cx?cust\_id=1234\&plan=9896
For E.g. You can choose to store the values of cust_id and plan on the trigger action block
Using JSON:
With this method, you can inject a JSON payload inside the ReplyCX’s code snippet and map the objects to be stored in the trigger action block.
To do this you need to add the following object with your desired fields in the ReplyCX code snippet
data-session-payload='{"field1": "value", "field2: "value"}
Now, let's take an example to understand this.
Assume you are using the chatbot in your web app and you already know who is the user initiating the chat. For your agents to be aware of the user details, you can add their name, email, customer_id, plan, etc. to the ReplyCX code snippet.
<script src="" data-session-payload='{"name": "Charles", "phone": "8164848686"}' defer></script>
We have stored the “name” and “phone" fields to ReplyCX variables on the trigger action block.
- ReplyCX reads this object only once when the code snippet is fired. Sending data after the code snippet loads will not be read.
- Dynamically add the data-session-payload object to the ReplyCX code snippet